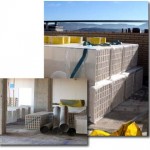
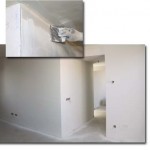
Before setting out, distribution and placement of downspouts and shunes need to be ready. The download of partitions is performed directly in the housing, by means of a crane.
Setting a bilayer film made up of a high density adhesive membrane and a croslinked polythene thermal bonding.
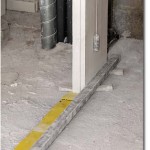
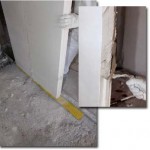
The joint is made by direct gluing, applied on the edge of the male and the female fitting of the next partition. Alignment of partitions is checked by a rule/guide on the stakeout.
Partitions are glued to the already placed through a female edge or a cut.
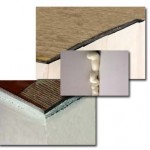 5. CEILING, WALLS AND PILLARS JOINTS
By interposing expanded polystyrene bands, projected polyurethane foam or elasticized polystyrene, separating the partition from these elements.
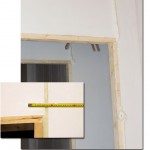
The joints with frames can be made by the traditional system of dovetail. Or, by polyurethane foam system. Traditional system with plugs.
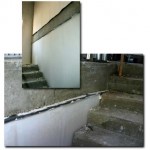
For the ladder joints a separation of 2 or 3 cm between steps and the vertical hoop should be considered.
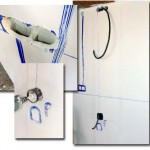
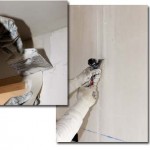
After marking and routing, electricity boxes and isertion facilities are set. In that quickly and easily way, one of the biggest disadvantages of traditional brick is replaced. Then comes the covering and finishing.
They are applied in expansion joints, door headers, ceilings, pillars and other elements to prevent any damage. Bands, are embedded around 2mm and placed with a flexible paste and microperforated paper bandage.
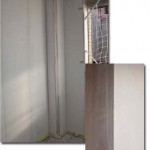
Joints are flattened and smoothed with glue or finish paste. The surfaces are perfectly smooth and leveled, flawless and ready to be painted or covered.

